How to Check Engine Oil Quality?
Introduction
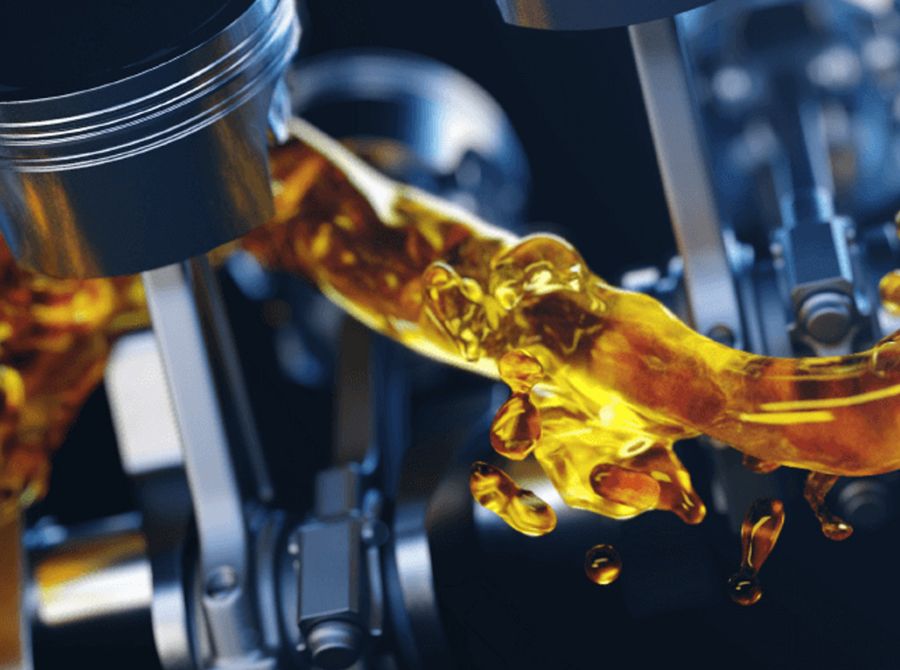
Maintaining proper engine oil quality is crucial for the optimal performance and longevity of your vehicle. Engine oil acts as a lubricant, reducing friction and heat generated by moving parts, preventing wear and tear, and protecting against corrosion. Regularly checking the quality of your engine oil is a simple yet effective way to ensure your engine runs smoothly. In this blog, we will guide you through the step-by-step process of checking engine oil quality.
Park your vehicle on level ground and turn off the engine.
For accurate results, it is essential to park your vehicle on a level surface and allow the engine to cool down. This ensures that the oil has settled properly and provides a more accurate reading.
Locate the dipstick.
The dipstick is a long, thin, and usually yellow or orange handle located under the hood of your vehicle. It is connected to the engine and allows you to check the oil level and quality.
Remove the dipstick and wipe it clean.
Pull the dipstick out of the engine, being cautious as it may be hot. Use a clean cloth or paper towel to wipe off any oil from the dipstick.
Reinsert the dipstick and remove it again.
Insert the dipstick back into its tube, making sure it goes all the way in. Then, pull it out again slowly and examine the oil level and quality.
Check the oil level.
The dipstick usually has two markings or a crosshatched area indicating the optimal oil level. The oil should ideally be between these two marks. If the level is below the minimum mark, you may need to add more oil. However, for this blog, we will focus on checking the oil quality.
Inspect the oil color and consistency.
Observe the color and consistency of the oil on the dipstick. Fresh engine oil typically has an amber or light brown color. As the oil ages and becomes contaminated, it may darken. However, if the oil appears excessively dark, thick, or gritty, it could indicate a problem.
Smell the oil. While this step is optional
it can provide additional insights. Take a moment to smell the oil on the dipstick. Fresh oil has a distinct petroleum-like smell. If you detect a burnt or foul odor, it could be an indication of engine issues.
Consider time since the last oil change.
In addition to visual and olfactory observations, it’s crucial to consider the time elapsed since your last oil change. Generally, oil should be changed every 3,000 to 5,000 miles or as recommended by your vehicle’s manufacturer. If your oil is due for a change and appears to be of poor quality, it’s a clear sign that it needs to be replaced.
Take note of any unusual findings.
If you notice any significant abnormalities during the oil inspection process, such as a milky appearance (indicating coolant contamination) or metallic particles (suggesting engine damage), it is advisable to consult a professional mechanic for a thorough assessment.
Conclusion:
Regularly checking the quality of your engine oil is a simple yet crucial task to ensure the smooth operation and longevity of your vehicle’s engine. By following the step-by-step process outlined in this blog, you can gain valuable insights into the condition of your engine oil. Remember, if you observe any severe irregularities or have concerns about your engine oil, it is always best to seek professional guidance to prevent potential damage and ensure the optimal performance of your vehicle.


